Tuesday, November 23, 2010

Cool Santa Gift Card Holder

I just finished another card/gift card holder and I'm trying to slip it in before the deadline of the All That Scraps challenge.  They were asking for gift card holders and I wanted to come up with a new design for one.  I got this idea from the Midsummer Dream Issue of Magnolia Ink and I love the way it turned out.  I also followed the sketch of the Bizzy Bec's challenge, which also asked for distressing.  I used Tim Holtz' Black Soot to distress the white papers on the card.  The image on the front is Cool Santa from the new Merry Little christmas line which can be found here and I colored him with my Copics and Prisma Colored pencils.  He's very sparkly as I added stickles just about everywhere.  The paper I used was from My Mind's Eye glitter Christmas stack from last year.  The Happy Holidays is a rub on from Imaginisce and the flowers are from Michaels.  All right, all right, enough gibberish.  Here's a picture:


And another angle...


Here's a close-up of Cool Santa:


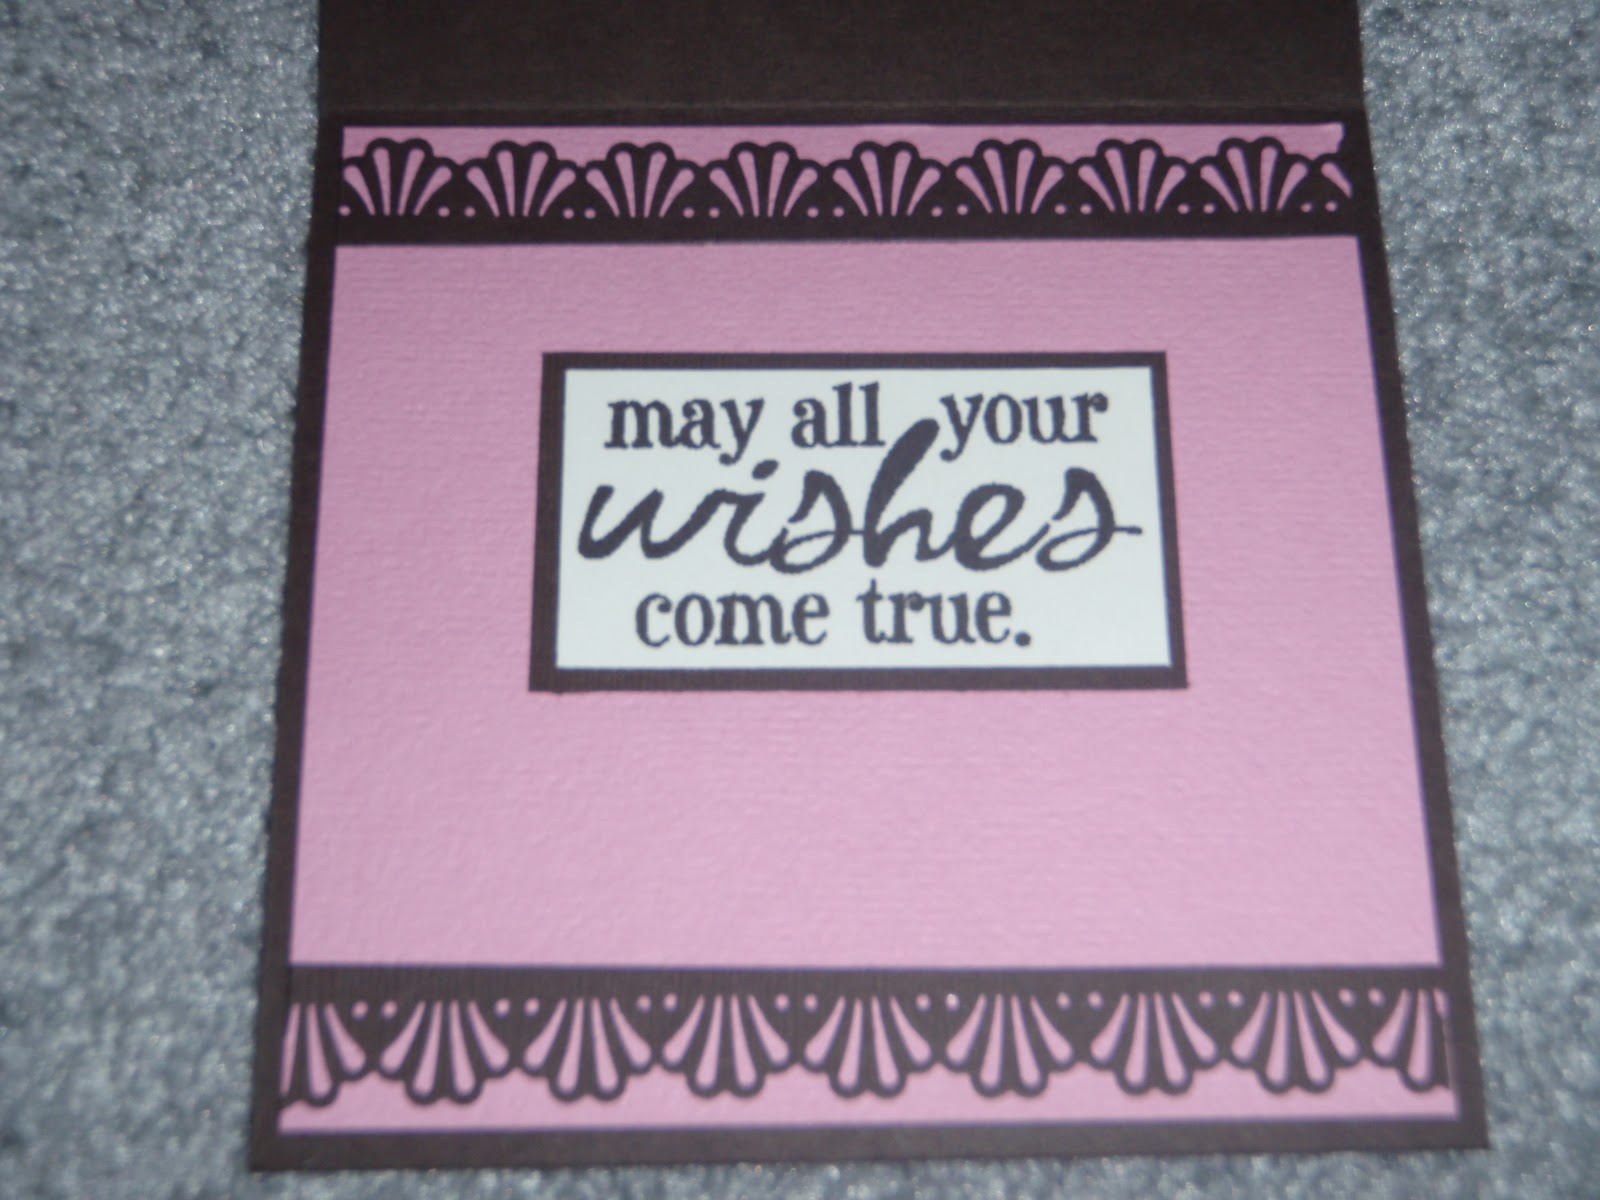
And when you open the flaps, this is what you see:


The Santa and reindeer were cut from the Cricut using the Christmas solutions cartridge and I chose to use part of the 'Twas the Night Before Christmas poem for this card.  It was computer generated.  This flap folds down to reveal:


A Tilda Christmas scene!  The tree and stockings were also cut on the Cricut.  The fireplace was a digital stamp I purchased and I colored Unwrapped Tilda which can be found here at Magnolia-licious.  This card is a double gift card holder as I can put one in each of the side panel pockets.  Here's a close-up of the Christmas scene:


And the rest of the poem:


I hope you like this one!

I am entering this card/gift card holder in the following challenges:

Bizzy Bec's - Sketch and add some Distressing
Simon Says Stamp and Show - Distress Inks
Alotarubberstamps - Let's Celebrate Christmas
ABC Christmas Challenge - Xmas option flowers
Scrappy Frogs - Christmas Cards
Top Tip Tuesday - Layer on Layer
Magnolia-licious Challenge - Inspiration Challenge - Tree
Spoon Full of Sugar - Anything Goes

Monday, November 22, 2010

Snowy Hug Thank You

This card made Top 5 at Stamp Stomething!

I just finished another holiday card with a twist - a thank you card.  So many thank you cards need to be written during the holiday season I figured I would get a head start on a few of them as well.  This one was created with several challenges in mind.  I followed the sketch from the Pixie Cottage challenge blog and I love how it turned out.  The papers I used are from a My Mind's Eye Glitter Christmas stack I bought last year and I really love how glittery and sparkly the paper is, although it's difficult to see in the pictures.  My image is Snowy Hug and can be purchased here at 7Kids College Fund.  I colored the image in with my Copics, added Polar White Flower Soft to the trim of Tilda and Snowy's hats and Tilda's jacket, on top of the broom, and at the bottom by Tilda's feet.  I then outlined Snowy with Diamond Stickles to make him sparkle and shine some more.  I outlined the square with one of my complimentary shades of Copics I used, just to tie it all together.  I added a Snowflake Christmas ornament from Michaels in the bottom right hand corner and a computer generated "Thanks" sentiment up top.


Here's another angle of it - I was really trying to capture some of the glitter, but it just doesn't shine through the picture as it does in real life.  I love the brown with the shades of blue I used - I think they went well together!


Here's a picture of the inside, which I decorated as well.  I added a ribbon and a bow to the top panel with another snowflake christmas ornament.  For the bottom panel, I just made an insert for my personal sentiment, along with a "Thank You from the bottom of my heart" stamp from Stampabilities.  I love this sentiment for my thank you cards!


I am entering this card in the following challenges:

Pixie Cottage - Sketch opt. Ribbons and Bows
7Kids Challenge - Give Thanks
Creative Card Crew - Let's Give Thanks
Stamp Something - Thankful Somethings
Sentimental Sundays - Thoroughly Thankful
Paper Playtime - Thank You
Simon Says Stamp - Sparkle
Totally Gorjuss - Not So Traditional
Meljensdesignsdt - Sparkle and Shine
Delightful Sketches - Baby It's Cold Outside
Totally Papercrafts - Snow and Snowflakes
Paper Play - Let it Snow, Let It Snow, Let It Snow
Pollycraft Challenge - Feeling Blue
Colour Create - Robin's Egg Blue, Sea Foam, and Cream with option of Winter
Bizzy Bec's November Challenge - Cute and Sweet
Pile It On - Winter Means

Some of my Favorites!

Wow!  I can't believe I've only been addicted to making cards for the past month - Now, don't get me wrong.  I've been scrapbooking since the age of 7 and that is still a passion I have, but I have become obsessed with making cards since I started my blog a month ago.  I know I have soooo much to learn, but I am loving how things have turned out thus far!  Here are some of my most favorite cards in a nutshell!  I hope you'll like them as much as I liked making them!


Friday, November 19, 2010

Girly LOTV Christmas

I just finished another Christmas card - I'm loving my growing collection of finished cards!  This one was done with a few challenges in mind and follows the theme of a Non-Traditional Christmas.  The colors I chose for this card are one of my favorite color combos - pink and brown.  My image is another one of the adorable James the Bear stamps, although I tried to make him look girly this time.  I colored him with my Copics and cut him out with my Circle Spellbinders.  I followe the sketch from Sketch Saturday and I love how this one turned out!  The paper is all Sweet Nothings by SEI - in case you haven't noticed, it's one of my favorite paper collections and I have a TON of it, hehe!  I used Diamond Stickles on the yellow star and silver stickles for the tinsel and the top of the ornaments.  The bling is by Queen & Co. and the flowers are paper roses from AC Moore.   I wanted a different style of card for this one so I made up my own dimensions for a larger Joy Fold Card.


Here's a close-up of the image:


And here's the inside.  I added bling on the opposite corners here too:


I forgot to add that I distressed the edges of each solid pink piece with Walnut Stain.  Here is a close-up of the inside sentiment.  It's a digital stamp that I thought was cute:  Jingle all the way!  I hope you like this one!


I am entering this card in the following challenges:

Sketch Saturday - Sketch
My Sheri Crafts - Teddy Bears
Crazy 4 Challenges - Christmas
Pollycraft Challenge - A Glittery Christmas
Fussy and Fancy - Christmas without Red and Green
Lili of the Valley - Glitter and Glitz

Wednesday, November 17, 2010

Tilda Sympathy Card

Here's a card I just finished and it was made with several challenges in mind.  Charisma Cardz and 4 Craft Chicks were asking for sympathy cards so that was the theme for this one.  I followed the sketch for Stampin' for the Weekend, which also had a twist of butterflies.  I love how it turned out.  The paper I used was Halloween paper from Little Yellow Bicycle.  I'm not sure of the name of it though because I used up some scraps.  I colored Tilda in with my Copics, distressed the edges with Black Soot and cut her out with my Oval Spellbinders.  The butterflies are a Martha Stewart punch and I'm unsure of the manufacturer of either of my stamps because the label has been worn off.


Here's another angle:


A close-up of Tilda and her rose:

Here's the inside:


And finally, a closer picture of the sentiment.  I hope you like it!


I am entering this card into the following challenges:

Stampin for the Weekend - Sketch w/ a twist: Butterfly
Charisma Cardz - Sympathy/Sorry
4 Crafty Chicks - Sympathy
Totally Paper Crafts - Purple & Black
Magnolia Down Under - Shabby Chic


Tuesday, November 16, 2010

Sugar Nellie Christmas

I just finished creating my first Sugar Nellie card.  There's so many different styles of images from them - I love it!  For this card, I decided to go with an easel card and I followed the sketch from The Sugar Bowl.  I used the Martha Stewart fan decor border punch to go along the bottom of the card.  The image is colored with copics and then I added paper piercing along the edges for a different look.  I added Diamond stickles to her trim on her boots, hat, and dress.  The doily has been misted with Vanilla shimmer spritz by Smooches.  I love the glisten!  The paper is by Cloud 9 and I used an old Merry Christmas sentiment by Precious Moments.  I added more of my snowflake embellishements and bling to the front and the inside.  The place inside for the message was cut out using Deckled Rectangles by Spellbinders.  Here's the front:


Here's the open easel card:


And finally, a close-up of Miss Claus by Sugar Nellie.  I hope you like it!


I am entering this card in the following challenges:

The Sugar Bowl - Sketch
aifactory - Die Cut/Punches

Friday, November 12, 2010

Shaker Card - Waiting Tilda

I wanted to share a card with you I just finished working on.  I had the idea swirling around in my head for about a week now, but I didn't know which direction I wanted to go with it.  This card was designed primarily for Magnolia-licious Highlites Challenge, which was asking for Shaker Cards, but many other challenges became a part of it along the way.  I used the sketch from Magnolia Stamp Lovers and I loved how it turned out.  I chose to use Waiting Tilda and the bench stamp by Magnolia and colored them both with my copics.  The designer paper came from a DCWV Christmas pack from last year.  The white piece was just a plain sheet of white cardstock that I ran through my snowflakes embossing folder and cuttlebug, then sprayed it with Vanilla Smooches Spray.  I love how it sparkles!  I also used white glitter paper to mount the DP on.  The snowflakes are a MS Snowflake trim border punch that I punched on glitter paper.  I added Polar White flower soft to the shaker card.  As if there weren't enough snowflakes already, I decided to try to make some of my own using some different sized snowflake punches I had and layering them.  I used white CS and glitter paper for dimension, then added some silver bling to the middle.  The thinking of you is a Fiskars Clear Stamp sentiment.


Here's a close-up of Tilda waiting patiently in the snow.  I forgot to say I used one of my Spellbinders labels for the frame.


Here's a close-up of the snowflakes.  I like how they turned out and they really stand out on the card (you can't really see them in the picture).


And finally, here is a picture of the inside.  I tied a white satin ribbon around the  bottom of the card, cut some white shiny paper for the personal note inside and cut some more snowflakes in blue and added some more bling.  I had so much fun creating this card - I hope you like it!


I am entering this card in the following challenges:

Magnolia-licious Highlites - Shaker Cards
Magnolia Stamp Lovers - Sketch (rotated)
Totally Tilda - Icy Christmas Tilda - Blue and Silver
Magnolia Down Under - Make your own Embellishments (snowflakes)
Delightful Sketches - Glitter It Up!
Crafty Calendar Challenge - Winter Optional Snowflakes
Paper Sundaes - Let It Snow
Reasonable Ribbon - Winter: Blue, White, & Silver
ABC Challenge - H is for Holidays
One Stitch At A Time - Winter Wonderland

Wednesday, November 10, 2010

Princess Tilda-Birthday

Here's the latest card I just finished.  I used my favorite color combination once again, brown and pink.  This card was made with a couple of challenges in mind.  I used Basic Grey's sketch and loved how it turned out.  The brown and pink swirl background paper is Bittersweet by Basic Grey and is one of my all-time favs!  I also used Sweet Nothings by SEI, another one of my favorites.  I colored Princess Tilda in with my copics and used the curved rectangle spellbinder to cut her out.  The pink flowers are by Kaisercraft and I glimmer misted them with Pearl to add some shine.  The brown flower was originally white, but I glimmer misted it with Tattered Leather to match my project and love how it turned out!  I used the Deco Fan border punch by Martha Stewart and a Birthday Sentiment by Fiskars.  The bling is by Recollections and Queen & Co.  I used the Deco Fan border punch on the inside of the card as well and the inside sentiment was a digital stamp.


Here's a close-up of Princess Tilda:


And one of the inside.  Hope you like it!


I am entering this card in the following challenges:

Basic Grey - Sketch
wee Memories - Birthday Bash
All That Scraps - Birthday
Top Tip Tuesday - Image/Sentiment

Romantic Tilda & Sparkling Tilda

I Made Top 3!!!
This card made Top Three at Stamptacular Sunday!

Whew.  I just finished up what was probably one of the most difficult cards I've made thus far.  It was for a couple of challenges, but also made for a future swap partner, so I wanted everything to be perfect.  Recently I've seen some pretty amazing tri-shutter cards, so I was inspired to create one for myself.  That wasn't what made this card so difficult.  It was the color scheme I was working with.  For Stamping Scrapping, the challenge was yellow and black and for the new Magnolia-licious challenge blog, the color scheme was yellow and pink.  I'm not that big of a yellow fan and I normally don't think of yellow and pink as going together, but I must say, i like the end result.  The base of my card is black and then I alternated mounting pink Sweet Nothings by SEI on yellow and yellow on pink throughout the card design.  I used Romantic Tilda which can be purchased at Stamping Scrapping here and Sparkling Tilda which can be purchased at 7Kids College Fund here.  I colored both images with my Copics and then cut Sparkling Tilda out by hand and used my curved rectangles spellbinders to cut out Romantic Tilda.  I then used the same sized die to cut out a pink rectangle and a yellow rectangle to mount my image on.  The flowers are by Kaisercraft (Pink Petaloo) and I glimmer misted them with Pearl Glimmer Mist to add some sparkle.  I also used Diamond Stickles on Sparkling Tilda's wings and halo.  The sentiment is from a Fiskars sentiment pack and the pink pearls are by Queen & Co.  Here's the front of the card.


Here's a close-up of Romantic Tilda:


And some shots of the card open:


And one last close-up of Sparkling Tilda:


I am entering this card in the following challenges:

Magnolia-Licious Challenge - Pink and Yellow
Stamptacular Sundday Challenge - DT Inspiration - Marianne's Tri-Shutter Card
Your Next Stamp - YNS It! (Yellow, Nesties, Stickles) - Used all three
7 Kids Challenge - Give Thanks
Creative Card Crew - Give Thanks
Just Magnolia - Anything Goes opt Beads
Scrappy Frogs Challenge - Give Thanks

Tuesday, November 9, 2010

Musical Christmas

Here's another Precious Moments card I created with a couple of "musical" challenges in mind.  I followed the sketch from the Fussy and Fancy challenge and love how it turned out!  I colored the image in with my Copics, using primarily a red and green theme.  The paper is from a DCWV Christmas stack from last year.  I cut the image out using deckled rectangles spellbinder and the poinsettias are from Prima.  The sentiment on the inside is from Close to My Heart and thought it fit perfectly!


Here's a close-up of the image.


And the musical sentiment on the inside.


I am entering this card into the following challenges:

Winter Wonderland - Sing A Christmas Carol
Fussy and Fancy - Sketch
Aly's Sunday Challenge - Music
Charisma Cardz - With Love at Christmas
Top Tip Tuesday - Use an Image/Sentiment

Lily of the Valley Christmas

All right, all right.  I'll admit.  I think I'm addicted to this little guy.  I can't help myself though - I think he's the perfect winter image and I find myself reaching for him over and over again!  I had a couple of challenges in mind when I created this card.  At Bizzy Bec's and Simon Says Stamp, both challenges were to create an all white card with the only color being on the image itself.  It's my first time attempting this and I must admit, it was a bit of a challenge for me.  But, I love the way it turned out!  My image is James the Bear from Lily of the Valley and I colored him with my Copics.  I cut him out using my deckled rectangles spellbinder and used diamond stickles for the snow and white trim on his hat.  I used white Prism paper as a a base for the card, then added white Bazzil dots to add some texture.  I followed Friday Sketchers challenge for the sketch of this card.  I ran two rectangles through my Snowflakes embossing folder and Cuttlebug.  I then used the Snowflake Trim punch by Martha Stewart and punched it in glitter paper.  I added a sentiment "Let It Snow" by Inkadinkado.  The snowflakes are from Jolee's and I glimmer misted them with Pearl to give them some sparkle.  I really hope you like this card!


Here's another picture where you can really see the embossed snowflakes.


And finally, a close-up of the image.   Hope you like it!


I am entering this card in the following challenges:
Friday Sketchers - Sketch
Simon Says Stamps Challenge - Are You All White?
ABC Christmas Challenge - W is for Winter Wonderland, option of All White
Bizzy Bec's - All White
Paper Sundaes - Let It Snow
A Spoon Full of Sugar - Snow/Snowflakes

Precious Moments Christmas

Just wanted to share a few more cards I just finished.  This one was made with some challenges in mind.  I was going through all of our old Precious Moments stamps and I came across this one.  I don't recall ever using it before, but I just loved it and had to ink it up right away.  For this card, I followed the sketch from Truly Scrumptious and used designer paper from one of my DCWV Christmas stacks from last year.  I loved how it turned out.  I colored the image in with my Copics and added Recollections flowers and pearl bling in the center.


I love the colors I used on this one!  Here's another picture of the image.


And here's one of the inside.  I used a sentiment from an Inkadinkado Christmas set I just got.  I hope you like it!


I'm entering this card in the following challenges:
Truly Scrumptious - Sketch & Option of Petals, Pearls, and Pins
Pixie Dust Studio - Pretty Colors: Blue, Pink, & Lime Green
Top Tip Tuesday - Use an Image/Sentiment
Going Grey - Christmas